How to Build a Campfire (A Step by Step Guide)

Teepee? Log Cabin? Lean-to? We explain the different campfires, how to build them, and how to do it safely…
No matter what style of camping you enjoy, you need to know how to build a campfire. Whether it's for ambiance, cooking, or survival, a campfire completes a camping experience.
If you've never built a campfire, you may be surprised at how difficult it can be, even if you have matches. Damp wood, high winds, dense wood, and wet conditions can all make it difficult to start a fire. Plus, you have to keep the fire going!
Don't worry, though. Building a campfire is a lot less difficult if you know what you're doing! We'll tell you what you need to know.
If you buy something through our links, we may get a small commission at no extra cost to you. It helps keep our lights on so we can continue to provide helpful resources for RVers. Read our full affiliate disclosure here.
How to Dry Wet Firewood the EASY Way
Like what you see in these videos? We'd appreciate it if you would Subscribe to our YouTube Channel (easy to do right here) and consider “ringing the bell icon” to be notified of any new video from us. 🙂 Thanks!
Campfires are a whole lot easier to build if you have DRY firewood! In this video, we show you how to dry wet firewood the easy way.
But don't worry, we'll cover more tips and tricks in the following guide…
How to Build a Campfire Step By Step
We're going to walk you through how to build a campfire step by step, including important safety tips.
Plus, we're going to share some of our favorite camping recipes to cook over the fire!
Step 1: Gather (or Buy) Firewood
First and foremost, you want to gather (or buy) dry wood. Dry wood burns more evenly, produces less smoke, and provides a steady source of heat.
Avoid using green or wet wood, as it's challenging to ignite. Plus, it will create excessive smoke, leading to poor visibility and potentially irritating others in the area.
Usually, campers use whatever firewood is readily available. But if you have a choice, select a hard, dense wood like Oak or Maple. Hardwoods burn longer and hotter, whereas softer woods burn quickly.
If you're cooking over the campfire, you may wish to use cherry wood, especially if smoking meats. The sweet smoke from cherry wood adds a rustic flavor.
Only Use Local Firewood
It's very important NOT to bring firewood from a different region. Moving firewood can spread invasive pests and diseases that can drastically harm the local ecosystem.
Instead, remember to “Buy It Where You Burn It.” Or, gather it as the case may be.
If you have leftover firewood, gift it to another camper. Or leave a kind gesture for the next camper by setting up the firepit for them to easily light when they arrive.
Step 2: Choose a Safe Location

When you're at a campground, there is usually a specific area called a fire pit or fire ring where you can have a campfire. Still, it's important to check the area around the fire pit.
Make sure no dead branches are hanging over the area. Plus, make sure anything that could easily catch fire from sparks or embers is not nearby, such as dry grass or brush.
In remote camping areas where campfires are allowed, try to use an existing fire ring if there is one. Only make a new fire ring if it's an emergency.
When choosing the location for your fire ring, look for places with mineral soil, gravel, or sand. Intense heat from the fire can harm healthy soil, so it's important to select your spot carefully.
Before leaving the campsite, make sure to clean up the fire ring by removing any debris. Remember to abide by the Leave No Trace Principles.
Step 3: Prepare the Fire Pit
Clear away anything within 5 feet of the fire pit that might catch fire from a stray ember or spark. If the firepit is surrounded with rocks, make sure they are stable and properly arranged to prevent the fire from spreading.
If you're in the backcountry and absolutely need a fire, create one by digging a shallow hole and surrounding it with rocks to contain the fire. Clear an area at least 10 feet in diameter (local regulations may vary) with your fire ring in the center.
Step 4: Lay the Tinder Base

Now it's time to start building the actual campfire. Start by preparing a base layer using tinder, which ignites the kindling, which then ignites larger pieces of wood.
Common types of tinder:
- Dry leaves or grass
- Dry pine needles
- Wood chips or shavings
- Strips of cardboard or paper
- Crumpled paper
- Dryer lint
- Commercial fire starters
Arrange the tinder in a loose pile or bird's nest-like structure, providing enough air circulation for combustion.
Step 5: Add the Kindling & Build the Firewood Frame
Kindling is bigger than tinder but smaller than firewood. It's typically thin twigs, wood chips, wood shavings, or rolled paper. It burns a little slower than tinder, giving the firewood more time to ignite.
How you add the kindling depends on the type of firewood frame you're building. So, now we're going to pause our step-by-step guide to discuss the different types of campfires…
5 Different Types of Campfires
Building a campfire involves more than just throwing some wood together. There are different techniques and structures you can use to create specific types of campfires, each with its own benefits and purposes.
1. Teepee: The Go-To

The teepee campfire structure involves placing your firewood in a cone shape, resembling a teepee. Start by arranging small pieces of kindling in a teepee formation over your tinder, gradually adding larger pieces of wood as the fire grows.
This structure allows for good airflow and encourages a strong flame. The teepee campfire is ideal for quickly starting a fire and providing a good amount of heat.
2. Log Cabin: Good for Cooking

The log cabin campfire structure involves stacking your firewood alternatingly, with one layer of wood parallel to the ground and the next perpendicular to it. Start by placing two pieces of larger firewood parallel to each other, leaving a small gap in the middle. Then, stack two smaller pieces perpendicular to the first layer, repeating the process until you have the desired height.
The log cabin campfire structure creates a stable base for cooking over. Plus, it allows for longer burning time due to the consistent airflow between the logs.
**By the way, we have a sister website all about camping food! Check out CampingFoodRecipes.com!**
3. Pyramid: Slower Burn
The pyramid campfire structure creates a somewhat blocky pyramid. You stack the logs in the same alternating pattern as the game Jenga, but you stack it with gradually smaller pieces of firewood.
Begin by laying down a layer of large firewood logs parallel to each other. Then on top, add smaller logs side by side perpendicular to the first layer, leaving a bit of space between the smaller logs. Continue this process, gradually decreasing the size of the wood as you build upwards.
This pyramid is often called an “upside down campfire” because you place the tinder and kindling on and in between the top logs. Lighting the tinder on top will ignite the smaller pieces first, gradually working down to the larger logs.
The upside-down pyramid campfire structure ensures a slow-burning fire that requires less maintenance and allows for longer cooking times.
4. Star: Minimal Wood
The star campfire structure looks kind of like a sun that little kids draw with sun rays coming out of it. You stack your tinder and kindling in the center in a teepee shape. Then position logs with one end on the stack and the other end radiating away from the fire.
Think of the kindling as the hub of a wheel, and the logs as spokes. The logs will burn down from one end, like a candle, giving you a longer burn time.
The star campfire structure is great for using longer logs and requires less firewood than other types. So it's a great option if you have a limited amount of firewood.
5. Lean-To: Windy Days
The lean-to campfire creates a shelter-like structure with your firewood, enabling you to make a fire on a windy day. Find or place a sturdy, vertical support, such as a log or a rock.
On the side away from the wind, place tinder at the base of the support and lean kindling over it. Light the kindling, adding bigger kindling and wood as the fire grows.
This campfire structure provides its own protection against wind and rain.
By understanding and utilizing these different types of campfire structures, you can choose the one that best suits your needs and conditions. Experiment with each design to find your favorite and most efficient method of building a campfire. Remember to always practice fire safety and follow any guidelines or restrictions in your camping area.
How to Build a Campfire (…Continued)
Now back to our regular programming! Now that you've decided which type of campfire to build, it's time to continue our step-by-step guide.
Step 6: Ignite the Campfire

In perfect conditions, you can simply hold a match or lighter to the tinder base. If everything is set correctly, the tinder will light the kindling, and work its way to the larger firewood.
(Depending on which type of campfire structure you chose, you may have to keep adding larger pieces of kindling, building up to large firewood.)
But in many cases, you'll need to use some finesse to get your campfire going. Here are some tips to help you overcome common frustrations:
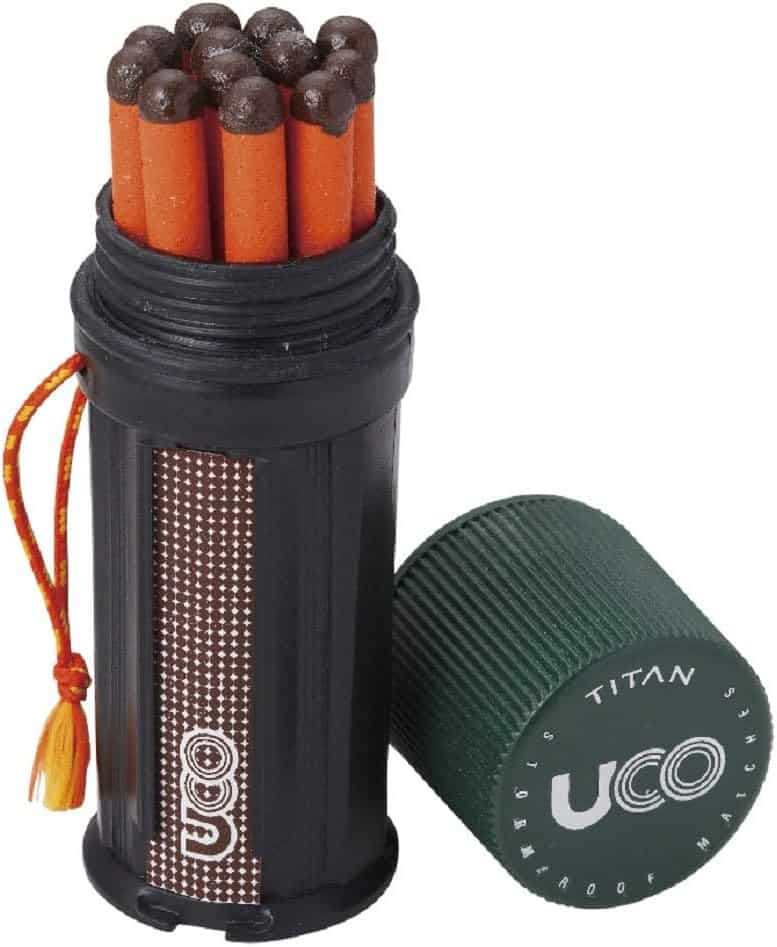
- Pack waterproof matches.
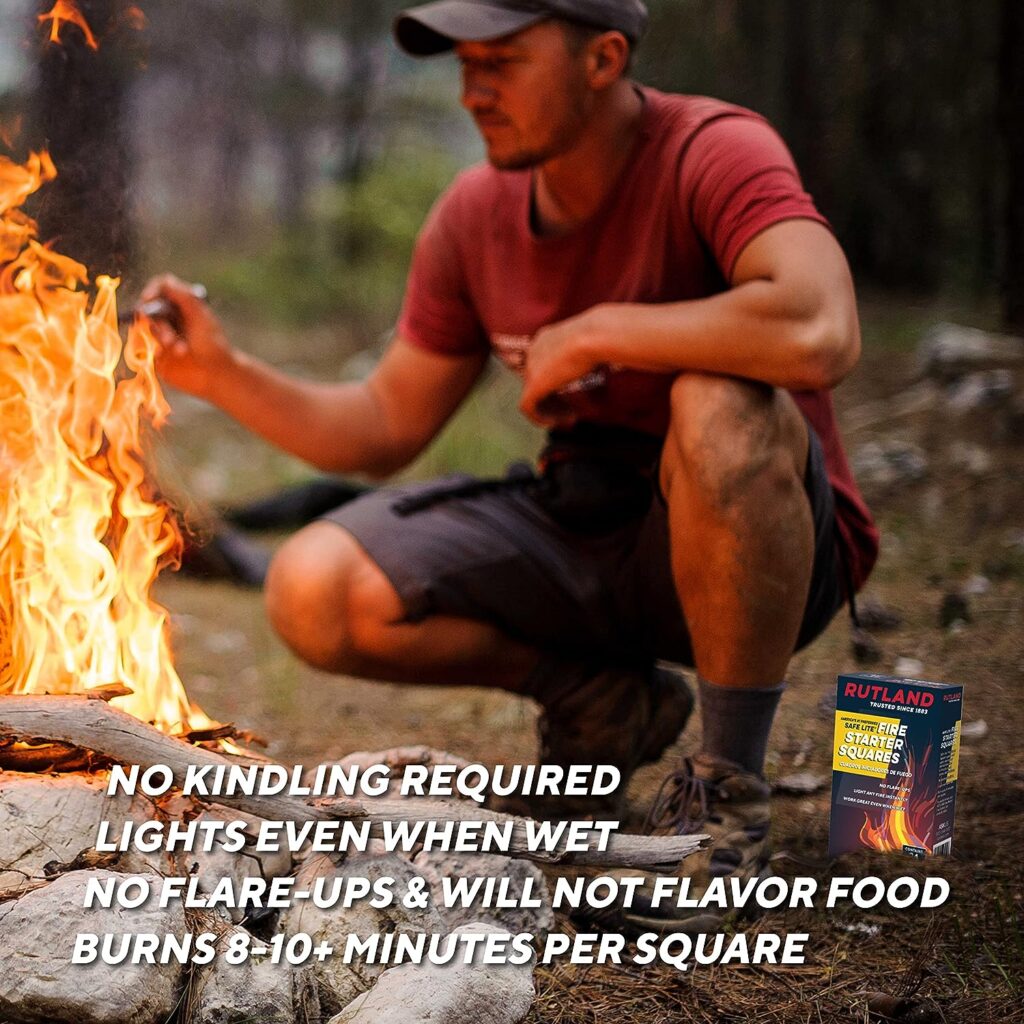
- Use a commercial fire starter as tinder/kindling.
- Keep extra tinder and kindling next to you as it lights so you can feed the fire more as needed.
- Make your structure steeper and pack it less tightly, allowing air flow and the heat to rise through the wood structure.
- Use sticky, sappy kindling (it's more flammable).
- Break damp kindling or split damp wood to expose the dry insides.
Step 7: Maintain and Control the Fire
Maintaining and controlling the fire requires careful attention. As the fire grows, add additional firewood gradually, ensuring it catches fire before adding more. Adding too much wood at once can smother the fire, reducing the airflow and hindering combustion.
Control the fire's size and intensity to match your needs and the conditions. Adjust the amount of oxygen reaching the fire by increasing or decreasing the size of the air opening between the wood.
Use a long thick stick to move the firewood around. Be sure to extinguish the tip after using it in dirt or water so you don't accidentally light something on fire outside of the pit.
Step 8: Extinguish the Fire

DO NOT LEAVE your campfire to burn out on its own. That's how the majority of wildfires in the United States start. You may think it's “small enough” to put itself out, but you're wrong.
To properly extinguish a fire, you need two buckets of water and a long stick or shovel. Here are the steps:
- Let the fire burn down as much as possible. Use a stick or shovel to spread out the coals and logs.
- Douse the fire with a bucket of water, slowly pouring it over all of the coals and logs. Keep your face away from the steam! You should pour enough to where there is standing water.
- Use your long stick or shovel to make “campfire soup,” mixing all the burnt embers and coals with the water.
- Rinse and repeat (douse and stir) until there are no red embers, no hissing sound, and no heat emanating from the pit.
If you don't have enough water, you can use dirt or sand in place of water to “drown” a fire. However, this creates a messy buildup in the firepit, which you should not leave for the next camper to clean out.
BUT it's better to use dirt or sand than to not completely extinguish your fire. So, use what you have to and then clean it up once it's safe to do so.
Which Type of Campfire Do YOU Build?
Let us know in the comments!
Try These Campfire Recipes! (YUM YUM!)
Our sister website, CampingFoodRecipes.com, is an excellent resource for planning your camping menu. We have all kinds of great camping recipes you can make in your RV, on the grill, or over your campfire.
Here are some of our favorites:
- How to Make Campfire Coffee (7 Easy Ways + Tips)
- Super Easy Campfire Chili
- Easy S’mores Dip
- 3 Delicious Campfire Sandwich Maker Recipes
- Easy Loaded Campfire Nachos
- Camping Chocolate Chip Skillet Cookie
We Are Huge Fans of Winter Camping!

Now we say that knowing many people are not. Indeed, you need to actually enjoy snow and cold. But we know there are thousands of RVers out there who just need a little coaxing and some tips to get out there and have fun in their RVs year-round.
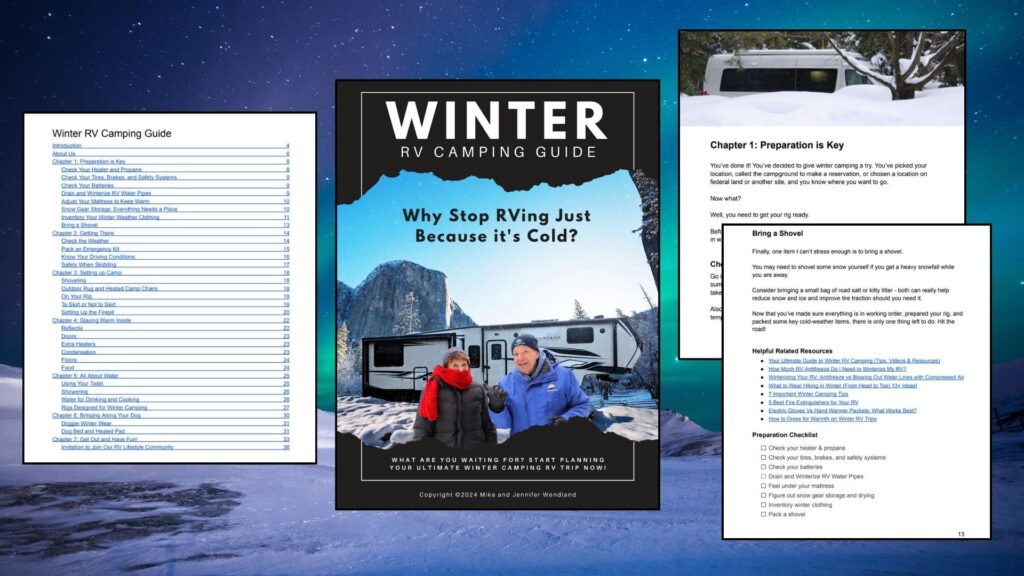
So that’s why we wrote The Winter RV Camping Guide.
In this 36-page ebook – (NOT a Print book) we’ll walk you through what you need to do before you leave home to get your rig winter-ready, and we’ll cover what to do when setting up camp.

Please remind folks that some areas have “burn bans” should check before starting a fire. Usually there will be signage, but ask if there is no sign. Sometimes the signage may be forgotten or missing. Appreciate all your camping and RV tips.