No More Mold! RV Awning Maintenance Tips From a Pro

Mold, rips, awful odor? Avoid and fix those common problems with these RV awning maintenance tips from a certified RV inspector…
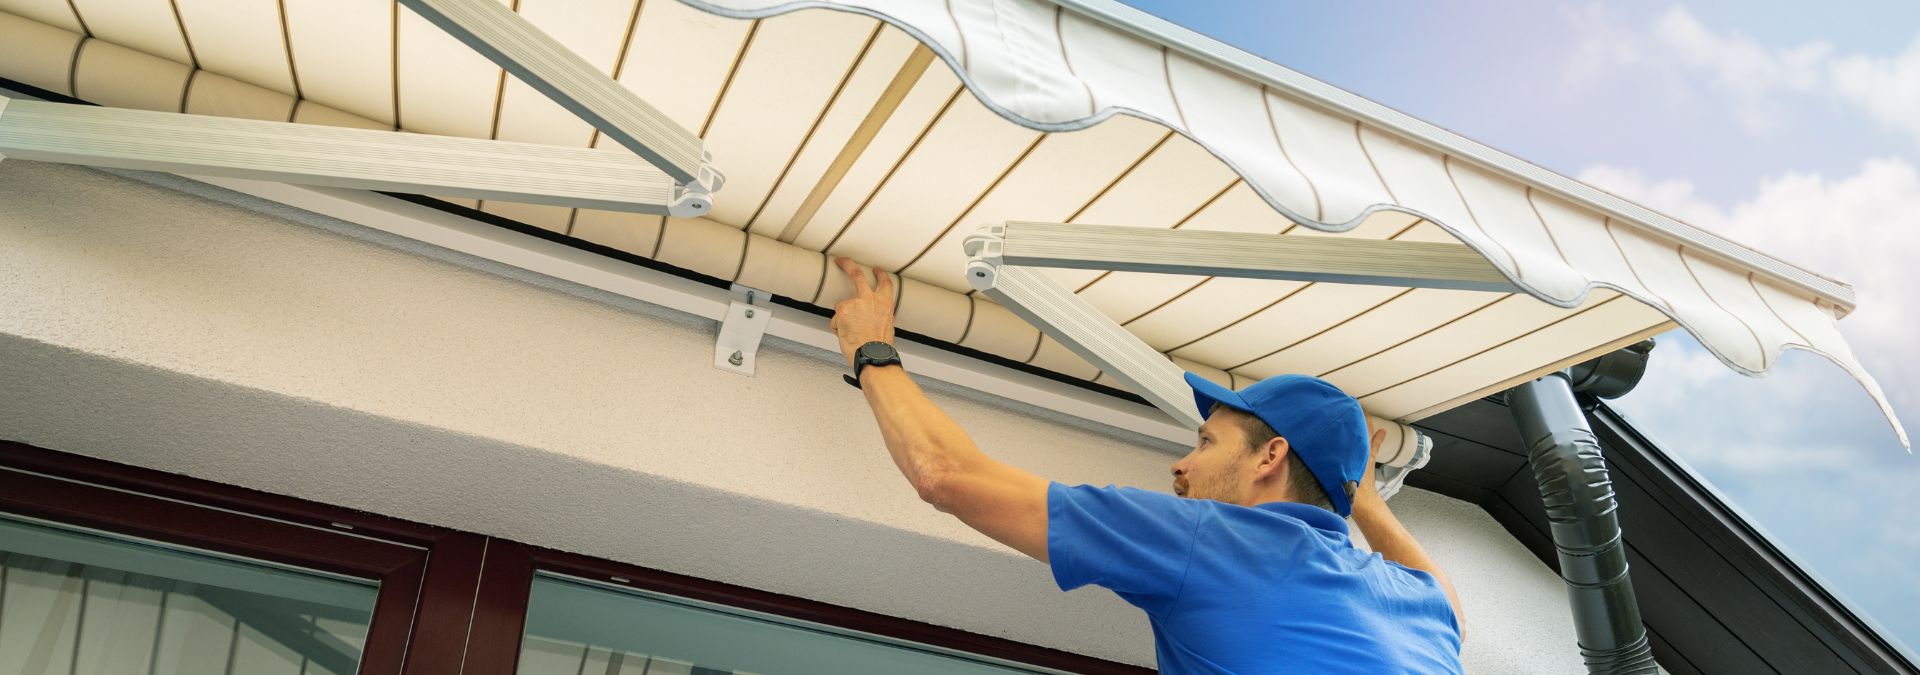
RV awnings greatly extend the living space of an RV, creating a comfortable outdoor area shielded from the sun and rain. In a lot of cases, it practically doubles your living space!
So, taking care of your awning is just as important as caring for your RV roof. But, don't worry, it doesn't take much to keep your RV awning in good condition.
Brenda of Queen Bee RV is a certified RV inspector and a regular guest on our RV Lifestyle podcast. In this podcast episode, she shared some easy tips to care for your awning that can save you money (and headaches).
This article shares Brenda's RV awning maintenance tips and helpful resources to get the job done! If you prefer to watch her tips instead of reading them, scroll down to the podcast video near the end of this article.
If you buy something through our links, we may get a small commission at no extra cost to you. It helps keep our lights on so we can continue to provide helpful resources for RVers. Read our full affiliate disclosure here.
RV Expert Advice on Caring for Your Awning
Maintaining and inspecting your awning from season to season keeps them intact and smelling fresh.
Stained, mildewed, or torn awnings can lead to more significant problems if left untreated, and may require you to replace the entire awning. The following tips can help keep your awning intact and lasting for many seasons!
1. Wash the Awning 1-2 Times a Year

Brenda suggests a thorough washing once or twice per year as outlined in your owner’s manual. Your owner's manual should specify what kind of cleaning products are safe for use on your particular awning.
Keep in mind that a high-quality cleaning product can make the job much easier! Here is a list of the 5 Best RV Awning Cleaners.
(We give you tips on how to clean your RV awning down below.)
2. Allow the Awning to Dry Out Before Closing
Allow time for your awning to dry completely before storing it so it does not grow mold or mildew. If you must retract the awning before it's completely dry, open it back up at your next destination.
Depending on the weather conditions, an open awning may take 24-72 hours to dry. On the other hand, a retracted awning can take weeks to dry if it is still wet when rolled up.
If you store the awning while it's still wet, it will not only mildew, but you'll be figuratively smacked in the face with a strong odor the next time you open it.
3. Inspect Your Awning During Each Use
Each time you use your awning, you should inspect the fabric for stains, tears, loose threads, pinholes, or excessive wear.
You should also look at the mechanical pieces to make sure they do not look broken. Watch the awning while it is extending and retracting to ensure it rolls evenly. It is a telltale sign of mechanical damage or an issue if both arms aren't moving evenly.
4. Repair Rips and Tears ASAP

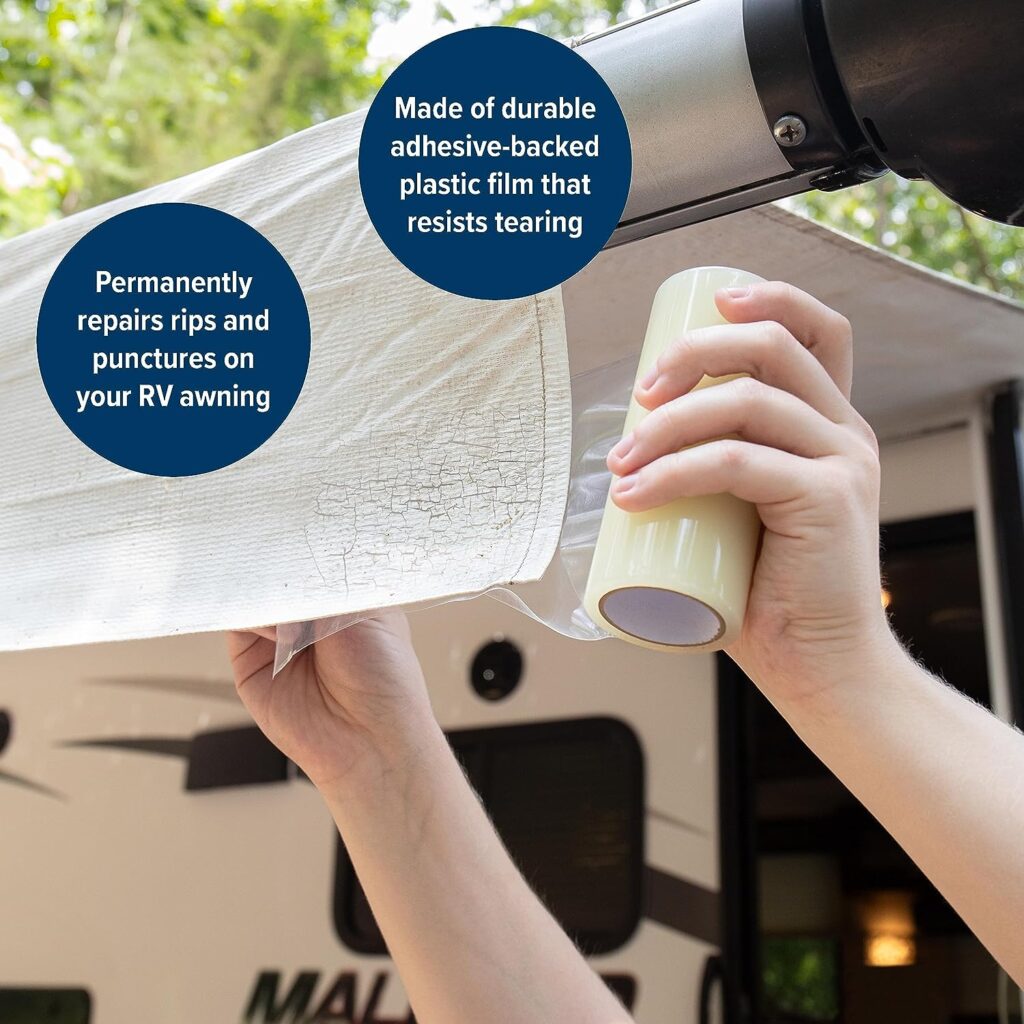
Once extended, look closer at the awning fabric from a ladder, rooftop view, or the ground. Most small holes can be repaired with a vinyl patch kit. If you see deterioration or tears, you'll want to patch it as soon as possible.
A small hole or tear can quickly expand if ignored, and it's easier to patch than you might think. Simply seal the tear with awning repair tape.
Using repair tape can extend the life and use of the current awning without having to replace the whole cover.
5. Engage the Awning Lock
If you have a manual awning, make sure to engage the awning locking mechanism when you travel. It's usually a lever-like mechanism at the end(s) of your awning. Check your owner's manual for specific instructions.
By ensuring the awning locking device is engaged before departure, you can avoid tears in the fabric or damage to awning mechanical pieces while traveling.
If you have an electric awning, you may or may not have a travel locking mechanism. So, be sure to check your owner's manual to learn if you need to engage a lock or not.
6. Don't Leave Your Awning Open in High Winds
Heavy wind or unexpected wind gusts can wreak havoc on your awning. It can even rip the entire awning off the side of your RV.
Keep an eye on your weather app and the skies. If severe winds or weather is headed your way, retract your awning as necessary. Some RVs have auto-closing awnings when the wind picks up.
ON THAT SAME NOTE, be mindful whenever you're leaving your campsite for the day or turning in for the night. The weather may be fine when you're getting ready to leave, but it doesn't mean it'll be fine the whole time you're gone or while you sleep.
We know plenty of campers who have returned to their campsite or woken up to a badly damaged awning because it was left open in bad weather.
7. Lower One Side During the Rain
If you leave the awning extended during a rain shower, lower one side of the awning more than the other. This allows the rain to run off instead of pooling on top.
Pooling water on top of an awning can tear the fabric or damage the mechanical pieces if it becomes too heavy or submerges items in water.
This tip doesn't work for all awning types, as some do not allow you to extend the sides differently. But if yours does, this tip will really come in handy on rainy days.
Watch the Podcast Queued Up to Brenda's segment
Like what you see in these videos? We'd appreciate it if you would Subscribe to our YouTube Channel (easy to do right here) and consider “ringing the bell icon” to be notified of any new video from us. 🙂 Thanks!
Prefer to listen to the Queen Bee's advice? In the above video, Brenda of Queen Bee RV walks you through her RV awning maintenance tips.
Be sure to tune into our podcast for more troubleshooting tips, camping recipes, and lots of great RV-related information. A new episode airs every Wednesday!
Subscribe with your favorite podcast platform: Google Podcasts | Spotify | Stitcher | Email | TuneIn | RSS
How to Wash Your RV Awning
Over the years, folks have asked how to wash their awning. We have tried it all and have found the following to be the easiest and most thorough way to clean our RV awning.
After each season, it gets all that weathering soot and stains from our rig’s awning. We always do a reasonable inspection of the awning while cleaning it. That way, we can repair rips and tears right then and there.
1. Open the Awning
Stretch the awning to full length. You want to be sure that it is fully open so that you can clean every part of the awning.
That also allows the fabric to dry completely, so you do not get mold or mildew issues once it is closed.
2. Spray the Awning with Your Preferred Cleaner
Use a secure step ladder and spray the awning with your desired cleaner.
Always refer to your owner’s manual to see if there is a suggested cleaner.
You can also check out our Best RV Awning Cleaner Guide to see what is on the market.
Let the cleaner saturate for about 10 minutes. That will help loosen hardened dirt and debris on the fabric. It makes your cleaning job a whole lot easier!
3. Scrub with a Long-Handled Brush

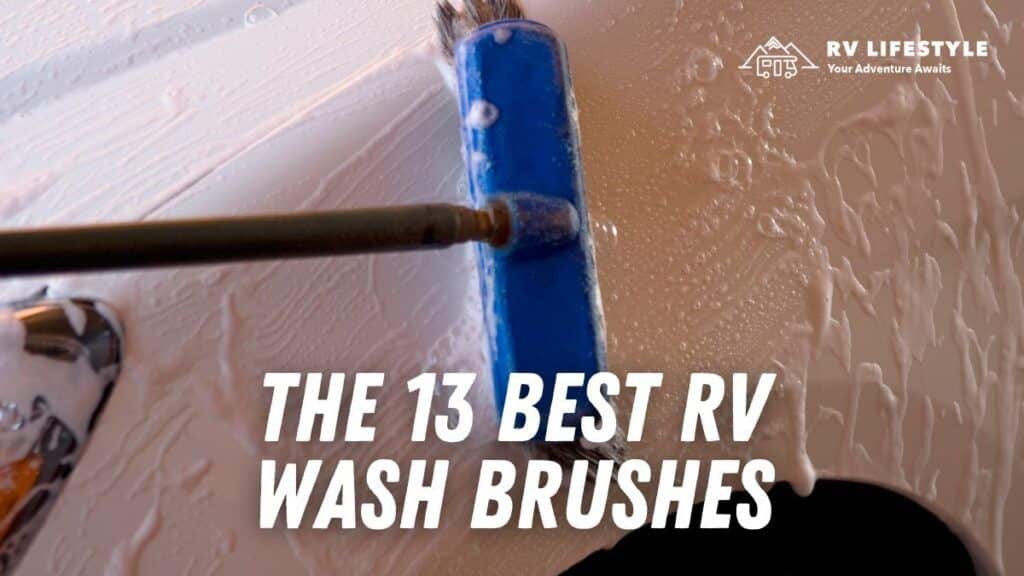
Once the cleaner has soaked in, use an RV brush to scrub the awning. We recommend lightly scrubbing the awning with a long-handled brush and a yellow sponge with the green scrubber side.
If you do not have an RV brush that you like, check out our article, The 13 Best Rv Wash Brushes (2022). We have outlined the best brushes based on recommendations from real RVers.
4. Rinse and Let the Awning Air Dry
After scrubbing the awning, rinse it thoroughly. Let the awning dry completely.
Once completely dry, crank it slowly, watching for an even and steady closure. Then you are ready for next time!
5. Spray Mechanical Parts with Lubricant
Before closing the awning, spray some lubricant on the mechanical parts. That will help keep the mechanism working smoothly.
3 Best RV Awning Lights
Need more light outside your RV? We have a shortlist of the best RV awning lights. Click here to see the options…

This ebook is a seven-stop guided exploration of the Michigan UP. We provide a suggested route and itinerary, links to multiple campgrounds and boondocking spots, and the best spots to see along the way. Don’t plan your trip to the Upper Peninsula without it!
You can see ALL our eBooks here, or use the following Quick Links to go straight to what you need!
● Adirondacks ● Arizona ● Colorado ● Coastal Maine ● Florida’s Atlantic Coast ● Florida’s Gulf Coast ● Florida Keys ● Great Lakes Shoreline ● Natchez Trace ● Southern Utah ● Upper Peninsula ● Lower Peninsula ● Yellowstone ● Bourbon Trail ● Yosemite
And MANY of these are BUNDLED together:
Northeast Bundle
Coastal Maine, Adirondacks
Ultimate Michigan and Great Lakes Bundle – 3 ebooks –
Upper Peninsula, Lower Peninsula, and the Great Lakes Tour
Michigan Bundle
Upper Peninsula, Lower Peninsula
The Great Lakes Adventure Guide Bundle
The Great Lake Shoreline Tour & JUST the Upper Peninsula Guide
Florida Adventure Guide Bundle
Gulf Coast, Atlantic Coast, Keys
Southwest Adventure Guide Bundle
Arizona, Colorado, Southern Utah)
Ultimate 7-Day RV Adventure Guide Bundle
Collection 1- our first 10 ebooks (does NOT contain Great Lakes Shoreline, Natchez Trace, The Bourbon Trail, and Yosemite)
We also have a nice collection of ebooks that will help you navigate the RV Lifestyle.
Like these:
RV Buying Secrets – The Beginner's Guide to Boondocking – The Ultimate Guide to Cheap or FREE RV Camping Sites – Boondocking and Free RV Camping EBOOK Bundle – Winter Camping – Newbie Guide
And ONE PRINT book 🙂 and yes, before you ask, we have plans for MANY more print books.
The Complete Guide to Boondocking – PRINT VERSION
This is the same as the ebook titled The Beginner's Guide to Boondocking but in print.
And while you are exploring all our ebooks – check out the hoodies, T-shirts, Stickers, and mugs in our MERCH Store! You can get to it directly by just going here – SHOP!
